
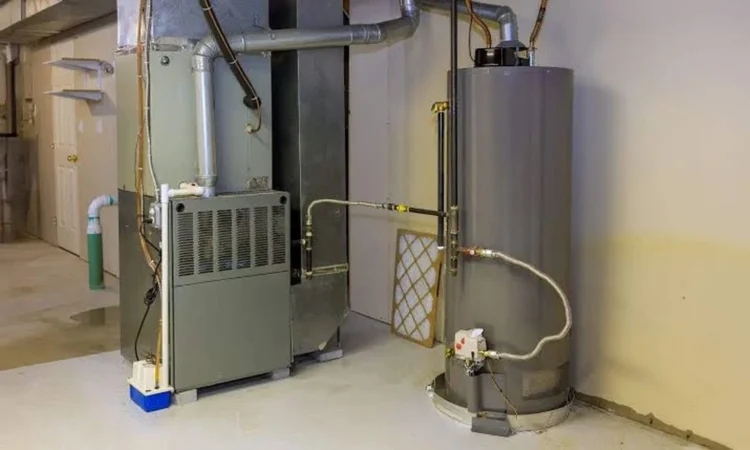
Your water heater probably gets less attention than any other appliance in the house. It sits in a closet or garage, does its job every day, and only gets noticed when the hot water stops. That makes it easy to forget that it has a lifespan, and a predictable one.
Plumbers like Richard A. Smith Plumbing often see the same pattern: a unit that gave no trouble for years starts showing small signs, and those signs were there all along. Knowing what each stage of a water heater’s life looks like lets you plan a repair or replacement on your schedule, not in the middle of a cold shower.
Here is the life story of a typical tank water heater, from installation day to retirement.
Stage One: The Honeymoon (Years 0 to 3)
A new tank is at its best. Hot water is steady, the tank lining is intact, and efficiency is as good as it will ever be. Even so, the habits you set now affect how long it lasts.
What to do:
- Check the temperature setting. Many units ship set higher than needed. The U.S. Department of Energy commonly recommends 120°F for most households, which saves energy and lowers scald risk.
- Know where the shutoff valves are. The cold water inlet valve and, for gas units, the gas shutoff should be easy to find in an emergency.
- Look at it now and then. A quick glance for dampness, rust, or drips builds the habit of noticing change.
Watch for: Nothing serious. If you see problems this early, suspect an installation issue and call for a warranty check.
Stage Two: Quiet Aging (Years 4 to 7)
Inside the tank, sediment begins to settle at the bottom. Minerals in the water gradually form a layer that sits between the heat source and the water. The anode rod, a sacrificial metal part designed to corrode so the tank doesn’t, is slowly being used up.
What to do:
- Flush the tank on a regular schedule, typically once a year, to clear sediment. Follow the manufacturer’s instructions.
- Have the anode rod inspected every few years. Replacing a worn rod is far cheaper than replacing a tank that has started to rust from the inside.
- Test the temperature and pressure relief valve as the manufacturer recommends. It is a key safety device.
Watch for: Popping or rumbling sounds while the unit heats, which usually means sediment is trapped under the water.
Stage Three: Middle Age (Years 8 to 12)
This is where most tank water heaters start to show their age. Efficiency slips, recovery takes longer, and small repairs become more frequent. Many tank units last somewhere around ten to fifteen years, though maintenance and water conditions make a big difference.
What to do:
- Keep a close eye on the base of the tank and the connections. Even a slow drip is worth attention.
- Start budgeting for a replacement. You don’t have to act yet, but you shouldn’t be surprised later.
- Compare repair costs to the age of the unit. A modest repair on a younger heater makes sense. A costly repair on an older one often doesn’t.
Watch for: Rust-colored hot water, lukewarm showers that used to be hot, and a rising energy bill with no change in usage.
Stage Four: The Warning Zone (Year 12 and Beyond)
At this point, the tank itself is the main concern. Repairs can fix a thermostat, an element, or a valve, but they cannot restore a corroded tank. When a tank begins to leak from the body rather than a fitting, replacement is the only real answer.
Signs it is time to replace:
- Water pooling around the base that comes from the tank itself, not a pipe fitting
- Visible rust or corrosion on the tank or at the connections
- Repeated repairs within a short period
- Not enough hot water even after repairs and a flush
- Age well past the typical range, especially with a history of little maintenance
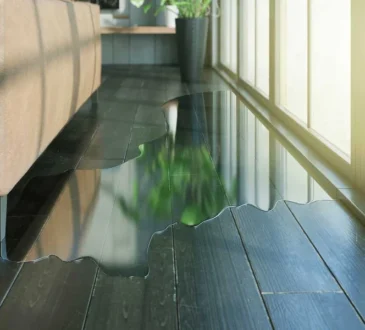
Don’t wait for a flood. A failed tank can release dozens of gallons of water, and the damage costs far more than a planned replacement.
What Replacement Looks Like Today
Replacement is also a chance to improve efficiency. The U.S. Department of Energy notes on its water heating page that its April 2024 efficiency standards for residential water heaters are projected to save American households billions annually and increase the adoption of heat pump technology. If you are replacing an older unit, it is worth asking about newer, more efficient models and how they would fit your home, budget, and hot water use.
A good installer will help you with:
- Sizing: Too small means cold showers. Too large wastes energy.
- Fuel type and venting: Gas and electric units have different needs.
- Code and safety details, such as relief valve piping and drain pans.
- Removal and disposal of the old tank.
A Simple Yearly Checklist
Print this and tape it near the heater:
- Look for leaks, rust, and moisture around the base
- Check the temperature setting
- Flush the tank to clear sediment
- Test the relief valve as directed by the manufacturer
- Inspect the anode rod every few years
- Note the installation date, and plan ahead once the unit passes ten years
The Bottom Line
A water heater’s problems rarely appear overnight. They build through years of sediment, corrosion, and small signs that are easy to miss. Pay attention to the stage your unit is in, keep up with simple maintenance, and plan for replacement before the tank decides for you.
If you are in Pinellas or Hillsborough County and want a professional opinion, Richard A. Smith Plumbing lists water heater repair, maintenance, and installation among its services and offers free estimates.