
Most homeowners replace a roof once, maybe twice, in all the years they own a house. That means most people go into the project without knowing what will actually happen once the trucks pull up. You might hear hammering at seven in the morning, find a dumpster in the driveway, and see a crew pulling off old shingles in a hurry while the sky is clear.
The process is more organized than it looks from the ground. Each stage has a purpose, and knowing what those stages are helps you ask better questions, spot shortcuts and understand why one estimate may cost more than another.
Whether you hire a roofing company in Ocean View or a crew several hours inland, the order of a replacement is mostly the same. What changes from region to region is the detail inside each step: the underlayment used, the nailing pattern, the flashing materials and how much attention goes to ventilation. On the coast, those details matter even more because wind and salt find every weak point.
Before Anyone Climbs a Ladder
A replacement really starts with paperwork. A detailed written contract protects both sides and sets expectations before any shingles come off. A good contract usually spells out:
- The shingle brand, product line and color
- The type of underlayment and where peel and stick membrane will go
- How damaged decking will be handled and priced, usually per sheet
- Whether flashing will be replaced or reused
- Permit responsibility, start date and payment schedule
That payment schedule is worth reading closely. The Federal Trade Commission’s guidance on avoiding home improvement scams warns against paying large sums up front and recommends holding back the final payment until the work is done and you’re satisfied with it. That advice fits roofing very well, because problems sometimes show up only after the first heavy rain.
Most towns also require a building permit for a full reroof. The contractor usually pulls it, and an inspector may check the work at one or more stages.
Day One Belongs to the Tear Off
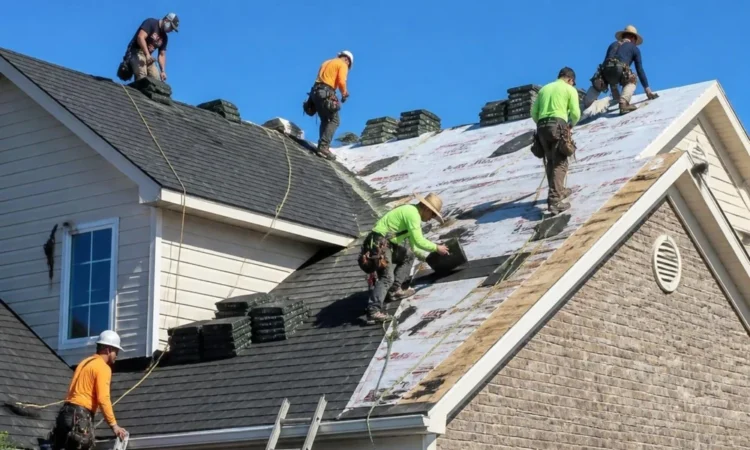
Crews usually start early to use the coolest part of the day. Before removal begins, they cover shrubs, air conditioning units and patio furniture with tarps, and they often lean plywood against windows near the work area.
Then the old roof comes off. Workers use flat shovels and forks to pry up shingles, nails and old underlayment, sliding the debris down chutes or straight into a dumpster parked close to the house. A typical single family home can be stripped to the wood deck in a few hours.
Inside, expect noise and some vibration. Pictures on top floor walls can shift, and dust can fall from attic hatches. Moving fragile items away from exterior walls the night before is a good idea.
The Deck Tells the Real Story
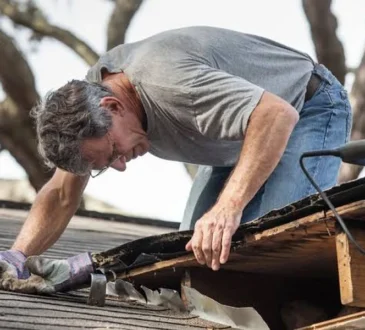
Once the old layers are gone, the crew can see the roof deck itself, which is the plywood or plank sheathing everything else sits on. Nobody can fully judge this layer from below or from the shingle surface, which is why most contracts price deck repairs separately.
Crews walk the deck looking for soft spots, delamination, rot near the eaves and dark stains around old penetrations. Damaged sections get cut out and replaced. On older homes with plank decking, wide gaps between boards sometimes call for a full layer of new sheathing over the top.
This is the stage where a project can grow in cost. A reputable crew will show you the damage, ideally with photos, before replacing more than a sheet or two.
Building the Layers Back Up
With a solid deck, the roof gets rebuilt in a set order.
Drip edge goes on first at the eaves. This metal strip guides water into the gutters and keeps it from wicking back under the roof.
Peel and stick membrane comes next in the vulnerable zones. Eaves, valleys and the areas around chimneys and skylights get a self sealing waterproof layer that grips the nails driven through it.
Synthetic underlayment covers the rest of the deck. It’s lighter and stronger than old felt paper and holds up better if rain arrives in the middle of the job.
Drip edge then goes along the rake edges, over the underlayment. That overlap order is a small detail that separates careful work from rushed work.
Starter strips and shingles finish the surface. Starter courses along the eaves and rakes give the first row of shingles a sealed edge, which matters a lot in high wind. Shingles then go up row by row with the nail count and placement the manufacturer specifies.
Flashing, Vents and the Ridge
Flashing is where most roof leaks start, so careful crews take their time here. Step flashing goes in piece by piece along sidewalls, with each shingle course getting its own bent metal piece. Chimneys get step flashing plus a counterflashing layer set into the masonry. Pipe boots around plumbing vents are usually replaced, since rubber collars tend to crack long before the shingles wear out.
Ventilation gets attention at this stage too. Many replacements add a continuous ridge vent, cut along the peak and covered with ridge cap shingles, and pair it with soffit intake so air can move through the attic. A roof that breathes properly lasts longer and holds less moisture in the house below.
Cleanup and the Final Walkthrough
The last few hours of a replacement are mostly cleanup. Crews pull tarps, collect stray shingle pieces and run magnetic sweepers across the lawn, driveway and flower beds to pick up nails. A thorough crew goes over the yard more than once.
The final walkthrough is your chance to look at the work with the project lead. Check that gutters are clear of debris, that flashing looks tight against walls and chimneys, and that no shingle edges are lifting along the rakes. Ask for the manufacturer warranty registration and the contractor’s workmanship warranty in writing.
How Long the Whole Thing Takes
A straightforward replacement on an average home often takes one to three days. Steep pitches, multiple layers of old roofing, extensive deck repairs, or a lot of dormers and valleys can stretch that out. Weather sets the real schedule, and good crews won’t open up a roof when rain is likely within a few hours.
Knowing these stages won’t make the noise any quieter, but it does make the project easier to follow. When you know what happens at each step, you can tell the difference between a crew that’s taking care and one that’s cutting corners.